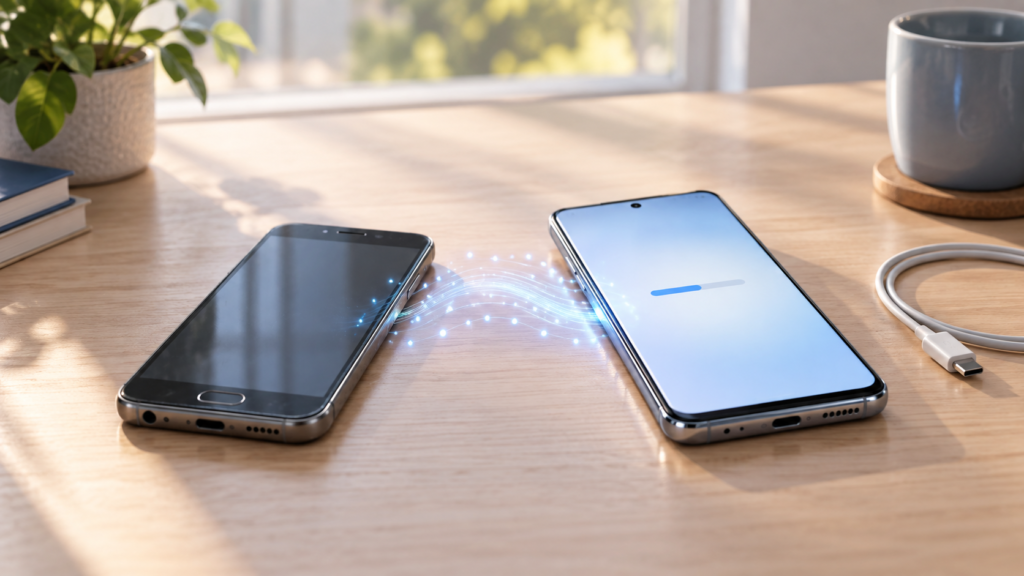
Apple’s latest iPhone line-up is now reaching customers worldwide, which makes this a good time for a practical new iPhone setup checklist. Whether you bought an iPhone 18 Pro, moved from an older model or are helping a family member, the first hour matters: a clean transfer can preserve photos and messages while the right security settings protect the device from day one.
This guide walks through ten essential steps, from backup and Quick Start to eSIM, Face ID and Apple Pay. Apple says its latest iPhones began arriving in stores on 18 September; if you are still comparing models, see our iPhone 18 Pro Australia buying guide.
Before starting your new iPhone setup
Keep both phones close to a power outlet and connect the old device to Wi-Fi. You will need your Apple Account password, the old phone’s passcode and, in some cases, your mobile carrier login or account PIN. Allow enough time: the basic setup may be quick, but a large photo library and app collection can continue downloading for hours.
1. Back up the old iPhone
Even when using device-to-device transfer, make a fresh backup first. Open Settings > [your name] > iCloud > iCloud Backup, then choose Back Up Now. Keep the phone connected until the backup finishes. A computer backup through Finder is another option; an encrypted local backup is useful if you want to preserve Health and Activity data.
2. Update the old phone
Install the latest compatible iOS update before transferring. This reduces the chance of a version mismatch during migration. Check Settings > General > Software Update. If you are moving to Apple’s current software, our iOS 27 release guide explains compatibility and the main changes.
Transfer data with Quick Start
3. Use Quick Start when both devices are available
Turn on the new iPhone and place it beside the old one. Apple’s Quick Start instructions say the current device can automatically begin setting up the new one. Follow the animation and on-screen prompts, keep Bluetooth enabled and leave both devices plugged in.
You can transfer directly from the old phone or download from iCloud. Direct transfer keeps the devices occupied until migration completes, while iCloud may get you to the Home Screen sooner and continue restoring content in the background. If the old phone is unavailable, Apple also explains how to restore a new iPhone from iCloud.
4. Check what actually transferred
Do not erase or trade in the old phone immediately. First, open Photos, Messages, Contacts, Notes and Files on the new device. Check that password entries appear in the Passwords app and that authenticator apps work. Banking, government, work-security and messaging apps may require a fresh sign-in or device approval.
Secure and connect the new iPhone
5. Configure Face ID and a strong passcode
Set up Face ID in good light and choose a passcode that is difficult to guess. A six-digit code is better than four digits; a longer custom numeric or alphanumeric code is stronger again. Review Settings > Face ID & Passcode to decide what can be accessed while the phone is locked.
6. Activate your SIM or eSIM
Many carriers support eSIM transfer during setup, but the exact process varies. Confirm that the carrier name and signal bars appear, then test an outgoing call, SMS and mobile data with Wi-Fi temporarily switched off. Australian users changing carriers may need to follow the provider’s activation process. Keep the old service active until the new phone is demonstrably connected.
7. Turn on Find My and account protection
Check Settings > [your name] > Find My > Find My iPhone. Enable Find My iPhone, the Find My network and Send Last Location. Also confirm two-factor authentication is active for your Apple Account and review trusted phone numbers. These controls make recovery easier if the phone is lost and help prevent account takeover.
Finish the everyday essentials
8. Re-add cards to Apple Pay
Payment cards generally need verification on a new device, even if other data transferred successfully. Open Wallet, add each card and complete the bank’s verification step. Test that your preferred card is set as default, and remember that transit cards or passes may have their own transfer rules.
9. Review privacy, notifications and backups
Visit Settings > Privacy & Security and review access to location, photos, contacts, microphone and camera. Avoid granting broad access unless an app genuinely needs it. Then tidy notifications so only important apps can interrupt you. Finally, check that iCloud Backup is enabled on the new phone and note the time of its first successful backup.
10. Update apps and test key features
Open the App Store, tap your profile picture and install pending updates. Test the camera, speakers, microphones, charging, Wi-Fi and Bluetooth before the return window closes. If you use an Apple Watch or AirPods, confirm that they pair correctly. Work profiles, VPNs and email accounts may require separate re-enrolment.
Should you erase the old iPhone now?
Wait until you have used the new phone for at least a day and verified your photos, messages, passwords, mobile service, banking apps and two-factor authentication. Unpair an Apple Watch if needed, sign out of the Apple Account on the old device, then use Settings > General > Transfer or Reset iPhone > Erase All Content and Settings. Remove the old device from your trusted-device list only after the transition is complete.
Final thoughts
A successful new iPhone setup is less about rushing through the welcome screens and more about checking the details afterwards. Back up first, use Quick Start, verify critical data, secure the account and test mobile service before wiping the old phone. That small amount of patience can prevent the most common migration headaches.
FAQs
How long does Quick Start take?
It depends on the amount of data, Wi-Fi speed and transfer method. A light setup may finish quickly, while hundreds of gigabytes of photos and apps can take several hours.
Can I set up a new iPhone without my old phone?
Yes. You can restore from an available iCloud or computer backup, or set up as new. You will still need your Apple Account credentials and may need extra verification.
Why did some apps not transfer?
Apps may need to be downloaded again, may no longer be available, or may require a fresh login. Managed work apps and security apps commonly need re-enrolment.
Should I update iOS before transferring data?
Update the old phone to its latest compatible release when practical. If the new phone requests an update during setup, follow the prompt before continuing the restore.
When is it safe to erase the old iPhone?
Only after checking important data, calls, messages, payment access and authentication apps on the new phone. Keeping the old device for a day provides a useful safety net.
Source note: availability information comes from Apple Newsroom. Setup procedures are based on Apple Support guidance linked above.
Leave a Reply