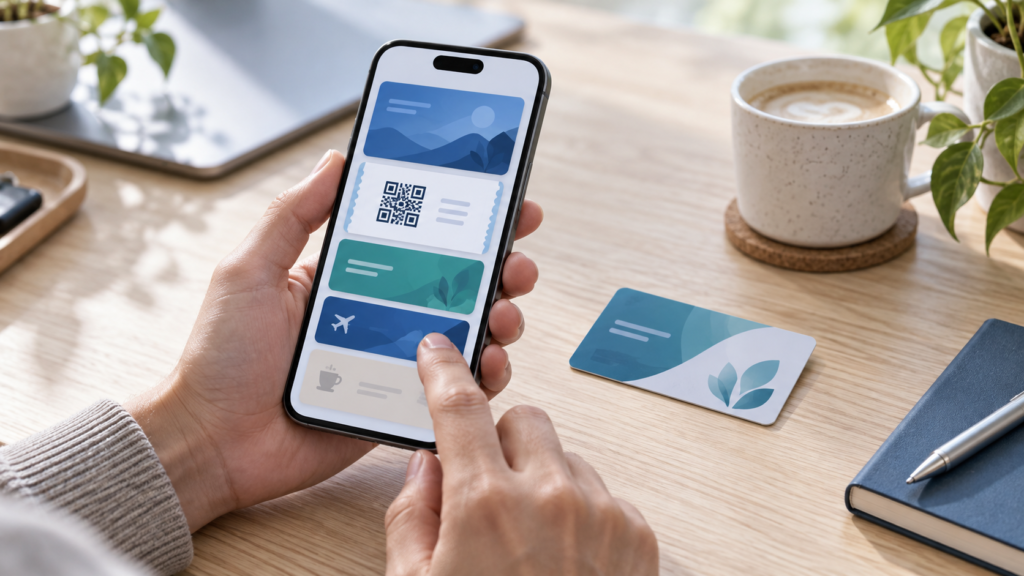
iOS 27 custom Wallet passes let you turn many physical loyalty cards, membership cards, tickets and other barcode-based items into a pass stored on your iPhone. It is a small but genuinely practical upgrade: instead of searching through a wallet, photo library or email at the counter, you can open a clean digital pass in Apple Wallet.
Apple’s updated iPhone User Guide confirms two ways to create a pass. Compatible Apple Intelligence devices can build one from a photo or screenshot containing a barcode or QR code, while any supported iPhone can use Wallet’s manual pass creator. Here is what the feature does, how to use it and the limitations to know.
What are iOS 27 custom Wallet passes?
A custom pass is a digital Wallet item made from information you already have. Apple highlights examples such as library cards, gym memberships and loyalty cards that include a barcode or QR code but do not offer an official “Add to Apple Wallet” button.
This does not turn every physical card into a contactless NFC card. The feature is mainly designed to display a scannable barcode or QR code together with useful details. Payment cards, transit cards, keys and identity documents still need to be added through their supported issuer or service.
Why the new Wallet feature matters
Until now, many iPhone owners kept unsupported cards as screenshots or relied on third-party pass-making apps. Native pass creation makes the process easier and keeps the result alongside boarding passes, event tickets and other Wallet items.
The feature can be useful for everyday situations including:
- library and community membership cards;
- gym, club and association memberships;
- loyalty or rewards cards with a barcode;
- event passes supplied as an image or printed ticket; and
- other non-payment cards that staff scan at a reader.
For more information about the wider release, see our iOS 27 release guide.
How to create a custom Wallet pass from a photo
According to Apple’s official iPhone User Guide, the photo method uses Apple Intelligence and requires iOS 27 or later on an Apple Intelligence-compatible iPhone. Apple currently lists iPhone 15 Pro, iPhone 15 Pro Max and iPhone 16 models or later as compatible, subject to language and regional availability.
- Take a clear photo or screenshot that includes the complete barcode or QR code.
- Open the image and tap Add to Wallet.
- Review the detected information and follow the onscreen instructions.
- Save the finished pass to Wallet.
After creation, Apple provides a View Original Photo option, which is useful if you need to compare the digital pass with the source image.
How to create an iOS 27 custom Wallet pass manually
If the intelligent photo option is unavailable—or if you prefer to control the details yourself—Wallet also has a manual workflow:
- Open the Wallet app on your iPhone.
- Tap the plus (+) button.
- Select Create a Pass.
- Tap Create Pass Manually and choose the most suitable template.
- Enter or scan the required details, then save the pass.
Reporting from MacRumors notes that the available templates include membership, event and custom layouts. You can adjust colours and fields to make the pass easier to recognise.
How to edit and use your pass
To make changes later, open Wallet, select the pass, tap the more button and choose Edit Pass. Apple says you can change the colour or background, add or remove fields, and edit existing details.
At a venue or shop, open the pass and present its barcode or QR code to the scanner. Some Wallet items can also appear automatically based on time or location, although those options depend on the pass and are not guaranteed for every custom item.
Important limitations and safety tips
Custom Wallet passes improve convenience, but they do not guarantee acceptance. A business may require its own app, a live rotating code, photo identification or the original physical card. Keep the physical item until you have tested the digital version.
Use only your own valid passes. Avoid storing highly sensitive identifiers unless necessary, and check every field before saving. A poorly lit photo, cropped barcode or reflective card surface can make a code difficult to scan. For the best result, photograph the card straight-on in even light and keep the entire code in focus.
If Add to Wallet does not appear, confirm that the iPhone is running iOS 27, that Apple Intelligence is enabled on a compatible model and that the device language and region support the feature. The manual method is the best fallback.
Should you use the feature?
Yes—if you regularly carry barcode-based memberships or loyalty cards. The built-in creator reduces wallet clutter and removes the need for a separate pass-making app. Just remember that it is a digital copy for scanning, not a way to clone payment cards, NFC access cards or government identification.
Final thoughts
iOS 27 custom Wallet passes are a sensible quality-of-life improvement. The Apple Intelligence photo workflow is the quickest option on supported iPhones, while manual creation keeps the feature useful on a wider range of devices. Start with a low-risk loyalty or library card, test it once, and keep the original as a backup until you know it works reliably.
FAQs
Which iPhones can create a Wallet pass from a photo?
Apple says the intelligent photo method requires iOS 27 or later and an Apple Intelligence-enabled iPhone, beginning with iPhone 15 Pro and iPhone 15 Pro Max or iPhone 16 models and later. Availability can vary by language and region.
Can I create a pass without Apple Intelligence?
Yes. Open Wallet, tap the plus button, choose Create a Pass and select the manual creation option.
Can custom passes replace payment or transit cards?
No. Custom passes are intended mainly for barcodes and QR codes. Secure payment, transit, identity and key functions require official support from the relevant provider.
What should I do if the barcode will not scan?
Compare the pass with the original, increase screen brightness and recreate it from a sharper image if needed. Keep the original card or ticket available as a backup.
Leave a Reply